
Ask a beginner to fix a flat, lifeless portrait and they'll reach for another light. Ask a seasoned gaffer and they'll reach for a flag — a black panel they put *between* the light and the subject to take some of it away. This is the secret most people learn late: a huge amount of professional lighting is subtractive. You don't just add photons; you carve them, block them, and shape the shadows as deliberately as the highlights. The tools for that — flags, cutters, nets, and solids on C-stands — are cheap, simple, and the difference between light that looks 'lit' and light that looks designed.
What these tools are and how they work
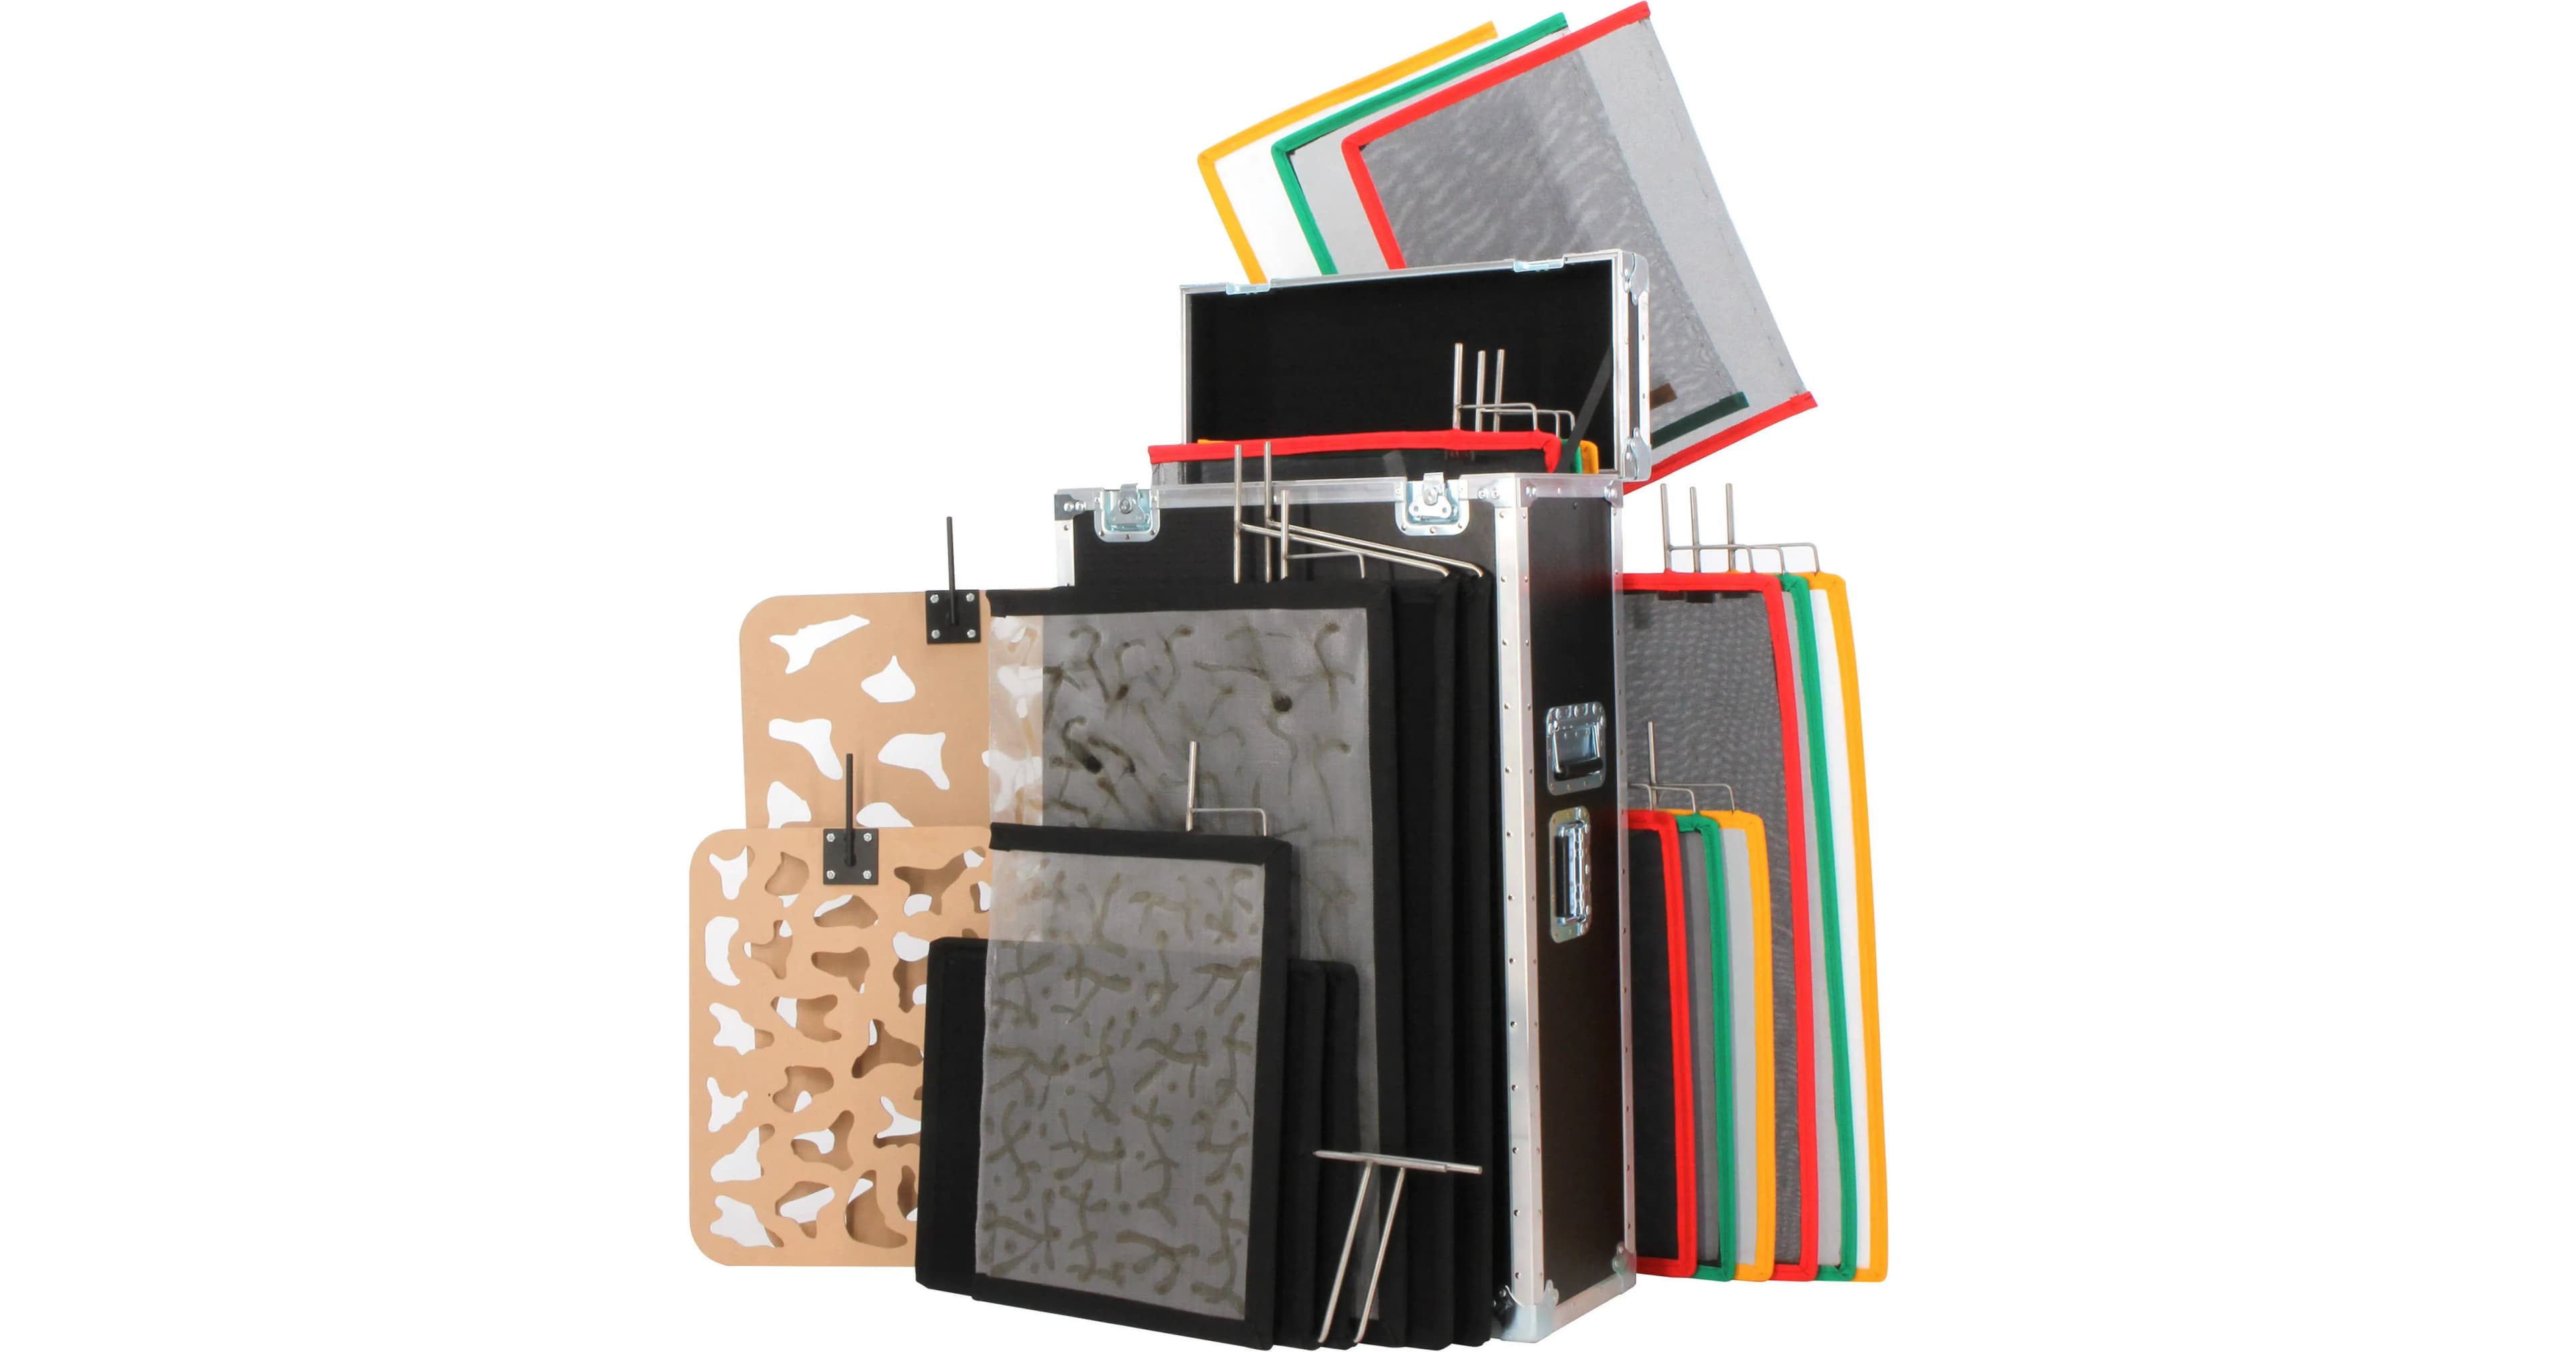
They're all panels — usually a fabric or screen stretched on a wire frame — that you fly on a C-stand arm to interrupt light. What changes is how much they block:
- Solid (flag/cutter) — opaque black fabric that blocks light completely. A long, narrow one is a cutter; a square one is a flag. Same job: full subtraction where you point it.
- Single net (single scrim) — an open black mesh that knocks light down about one stop without fully killing it. Light still passes, just dimmer and softer at the edge.
- Double net (double scrim) — a denser mesh that cuts roughly two stops. More reduction than a single, still translucent.
- Artificial silk — a white diffusion fabric that softens light passing through it, spreading a hard source into a gentler one rather than just dimming it.
A floppy cutter is a solid with a clever twist: it's a 4×4' flag with a hinged second flap that folds out (the top/bottom hinge) to double its length to 4×8' when you need to block a tall slice of light, then folds back to 4×4' for storage. One panel, two sizes — which is why it earns its place on so many carts. Most grips carry a scrim/double/silk/solid kit so they have the whole density ladder — full block, one stop, two stops, and diffusion — in one frame size, swappable in seconds.
Why subtraction matters on set
Light has a frustrating habit of going everywhere. Your key lights the subject — and also splashes onto the background, bounces off a white wall back into the shadows you wanted dark, and flares across the front of the lens. Adding more light can't fix any of that; it makes it worse. **Subtractive tools give you back control of where the light *isn't*.** They let you set contrast, protect your shadows, keep the background as dark as you want it, and stop stray light from washing out your image. On a paid shoot where the look has to be precise and repeatable, knowing how to take light away is exactly as important as knowing how to put it down.
How to use them correctly
Flagging: block spill off the background and lens
Flagging is putting a solid where you don't want light to land. Two everyday saves: fly a cutter between your key and the background so the wall stays dark and the subject pops off it, and set a flag just out of frame to shade the front of the lens when a light is raking across it — that kills veiling flare and restores contrast and color. The closer the flag is to the *light*, the softer and broader its shadow; the closer it is to the *subject or lens*, the harder and more defined the edge. Slide it along the C-stand arm to place that shadow edge exactly.
Cutting and feathering the edge
A 'cut' is the line where the flag's shadow falls across the scene — say, a hard edge that keeps light on a face but off the shirt below. Feathering is softening that transition: back the flag off the light a touch and the cut goes gradual instead of razor-sharp, so the falloff reads natural. Use a hard cut to carve a clean boundary, a feathered cut to blend. This is where a cutter's long, narrow shape earns its name — you place a thin, controllable line of shadow precisely where the frame needs it.
Single vs. double net: dim without killing
Sometimes you don't want to *block* a part of the frame, just bring it down a little. That's the net's job. Fly a single net over a hot edge — a bright forehead, an over-lit hand, the near side of a product — to pull it down about a stop so it stops drawing the eye, while everything around it stays full strength. Need more? Swap in a double net for ~two stops. Because the mesh is translucent, the dimmed area still looks lit, just balanced — far more natural than re-aiming the whole light. A net held over part of the frame is how you even out exposure across an image without touching a single fixture.
Negative fill: add shadow, add shape
Here's the most counterintuitive move of all. In most rooms, light bounces off bright walls and floors back into your shadows, filling them and flattening the face. Negative fill reverses that: you stand a solid black panel close to the shadow side of the subject. It doesn't add anything — it *absorbs* the bounce that was creeping in, letting the shadow side go deeper and the contour sharpen. The effect is dramatic: cheekbones, jawlines, and the shape of a face all come forward. A solid flag flown a foot off the dark side of a portrait is one of the highest-impact, lowest-cost lighting moves there is, and you make it by adding nothing but shadow.
Subtractive lighting in the studio workflow
A controlled studio is the ideal place to work subtractively because you own the whole light field — you can kill every stray bounce, then add back exactly the contrast you want. A common build: key on a boom, a solid as negative fill on the shadow side, a cutter flagging the background to keep it clean, and a single net trimming one hot edge. Every panel is reproducible — pinned in place, metered, locked — so frame 400 carries the same shaped contrast as frame 1. Keep a scrim/double/silk/solid kit on a stand near set so you can audition full-block, one-stop, two-stop, and diffusion against a problem in seconds rather than rebuilding a light. The lights make the image; the flags and nets make it *yours*.
When to rent it
Flags and nets are inexpensive but bulky and easy to be caught short on — you always want one more density than you packed. Renting makes sense when:
- You want the whole density ladder — full solid, single, double, and silk — without buying four separate panels and frames.
- You need negative fill at scale — a 4×4' or 4×8' solid is a big, awkward thing to own and store for occasional use.
- The look is contrast-driven — moody portrait and product work leans hard on subtraction; rent enough flags to carve every edge.
- You're already renting the room — add the flag-and-net kit to the studio booking and walk in able to shape light immediately.
Our grip and electrical rental shelf has the 4×4' floppy cutter (top/bottom hinge) at $25, a complete scrim / double / silk / solid kit at $16, and individual single scrim, double scrim, artificial silk, and solid panels at $5 each — plus the C-stands and, from production supply, the sandbags to fly them. Rent a couple of solids for negative fill and a net kit for trimming, and you can shape a frame without adding a single watt.